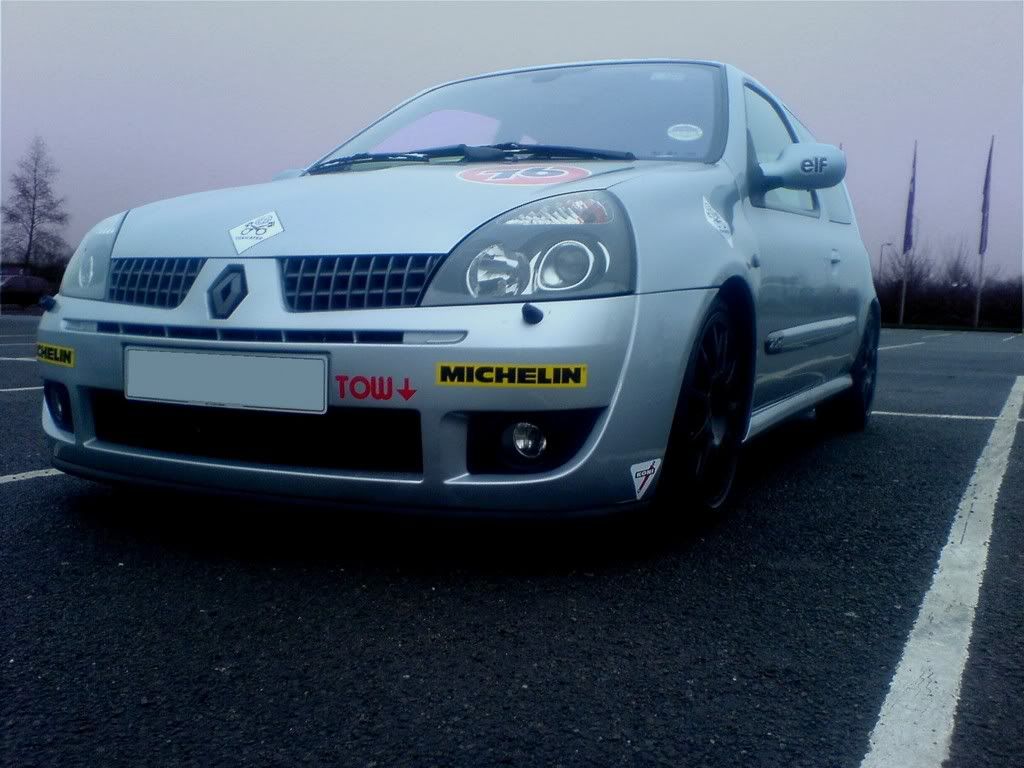
Wednesday, January 10, 2007

Heater Woes......

I have had an annoying problem occur on my track beastie. Intermittently the
fan stopped working in the heating system. It would work firstly when driving
the car - but would give up after a while and would not come back on. Not
good at this time of year!!!

Initially I thought it was to do with me having Yozzasport to remove the
aircon to save weight and power off the belts - but it has worked
faultlessly since the project was completed, so nothing to do with that.

I thought this would a good excuse to get a heated racing windscreen, shame
its just after Xmas!

After researching the Cliosport website, and chatting to a couple of guys on
there I decided that either the resistor pack had gone [£85+] or the
motor/fan had blown [£120+]. Not cheap.

The fix cost me £0 as it was a connection/sticking motor issue.

What I did:-

1] Lift up bonnet
2] Remove scuttle panel - drivers side [remove the plastic lugs]
3] Remove and clean out all connections
4] Undo hex screws so that you can pull the motor out a bit
5] Clean and reconnect the connection under the motor
6] Give the motor a few taps with a light hammer incase it is sticking
7] Reconnect all connections
8] Use Vaseline around all connection, together with a spray of WD40 to
eliminate moisture.
9] Replace scuttle panel, and replace lugs. Make sure the scuttle panels lip
is flush with the windscreen. I used Vaseline under the lip to aid
protection from water.

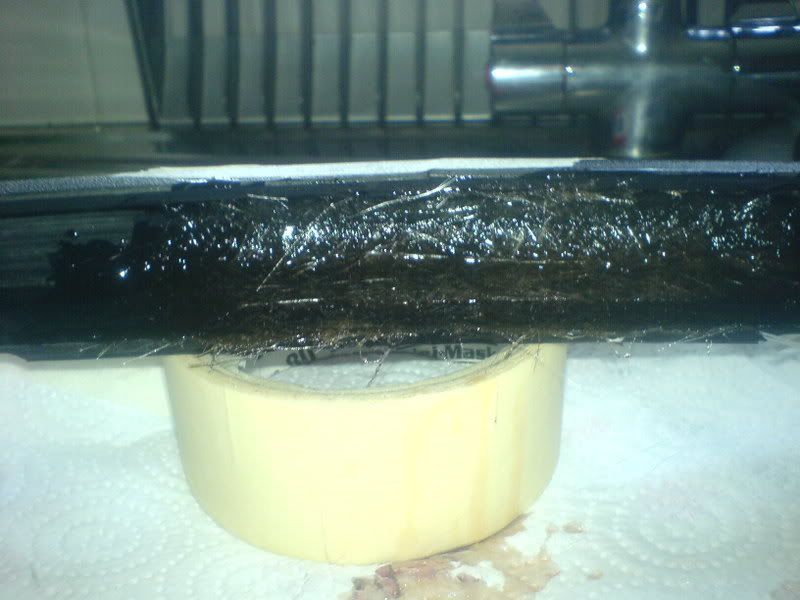
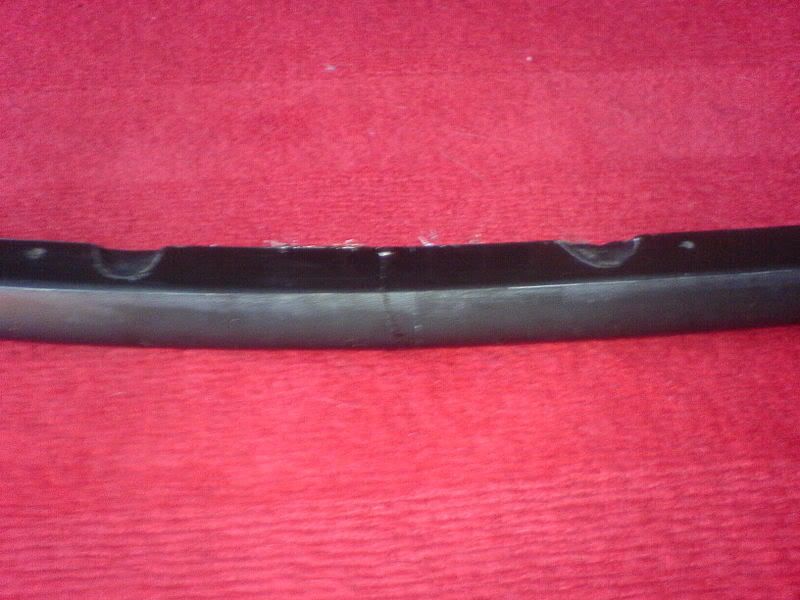
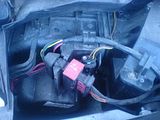
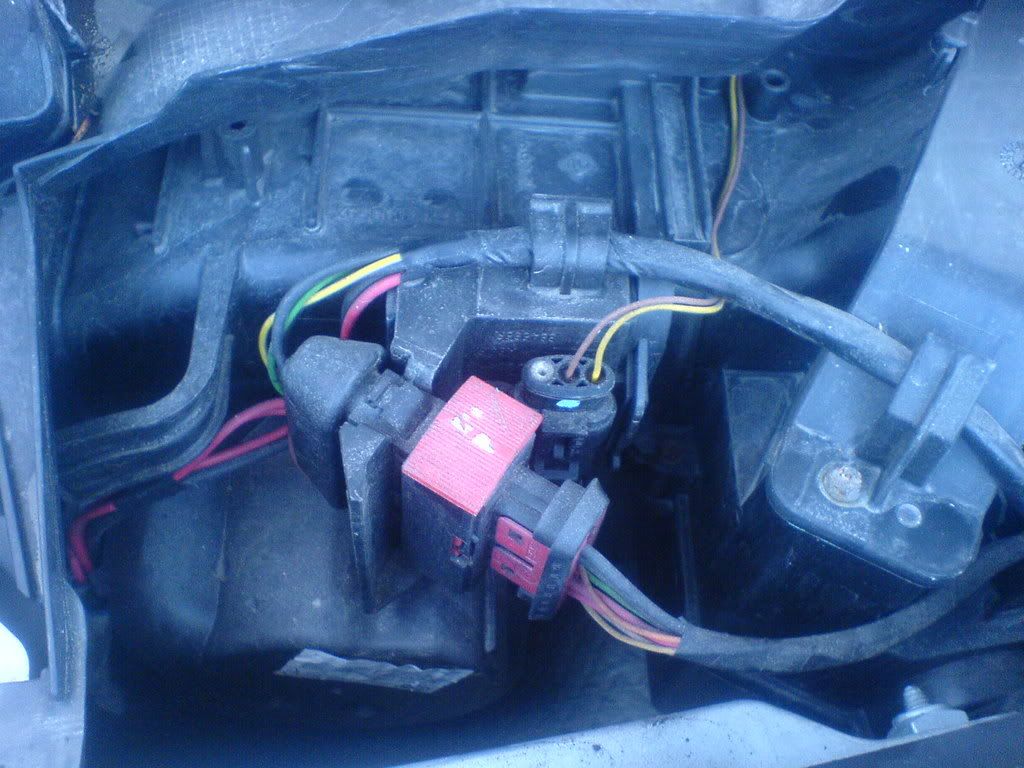
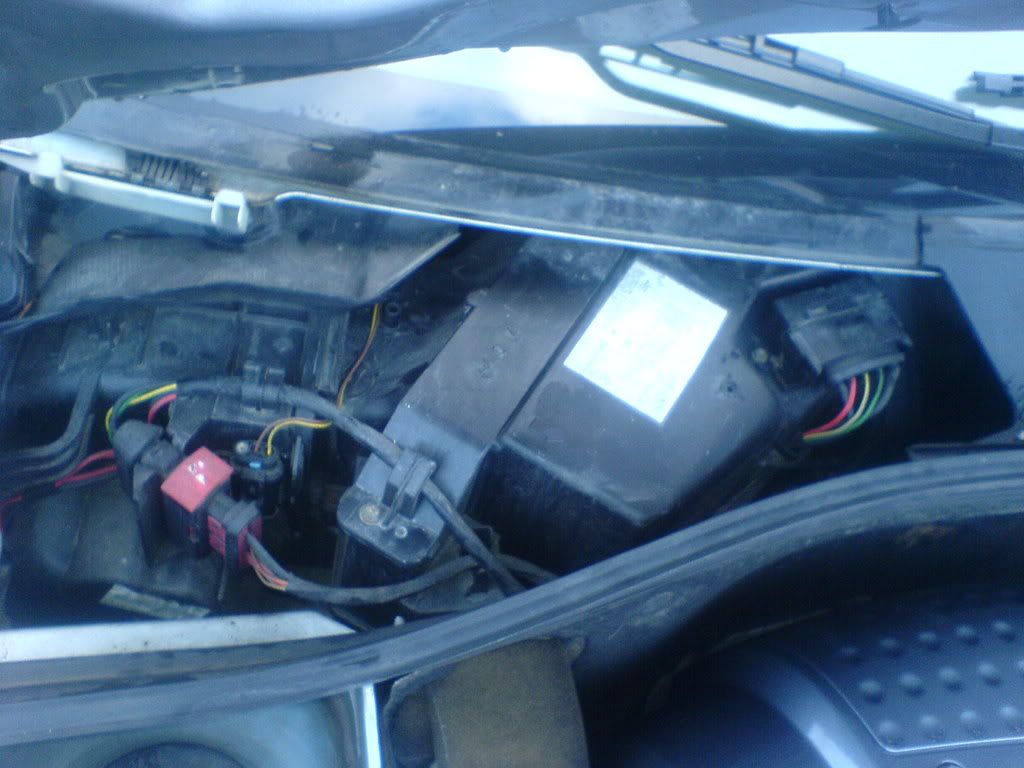
Some pics of the scuttle panel area:-

Resistor Pack


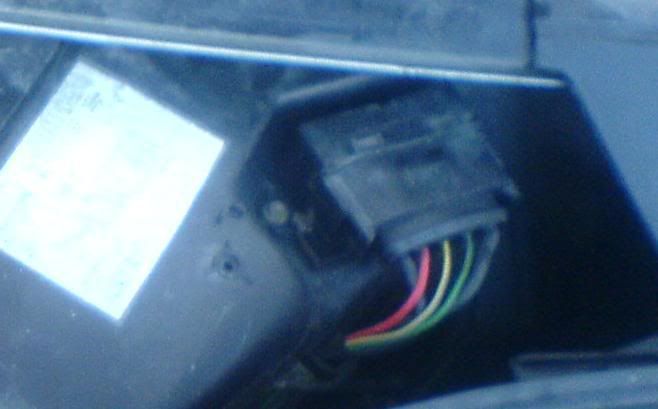
Motor Fan [underneath wiring]


Heating System


The weather is horrendous at the moment so I have hardly used the 172... I
am waiting for things to get better before booking any more track days.

Saturday, December 23, 2006

Ikea Carpark....

I needed to charge the battery so agreed with my other half to take her to Ikea.


Friday, December 22, 2006

Cup Splitter Fixed and Fitted

As I finished early today for Xmas I decided to spend the afternoon fixing the Cup Splitter that arrived yesterday then fit it to the 172.

As it arrived in 2 parts [a clean break from the previous owner] I decided to bond the 2 parts with fibreglass. I used a fibreglass repair kit from my local Halfords.

Once finished it gave a very strong bond and the crack was almost unnoticeable!

I then used self tapping screws to attach the splitter to the front bumper.

It might not last long though as it is very low to the ground.

Some pics.


Thursday, December 21, 2006

Cup Splitter Arrived

My Cup splitter has arrived! Thanks Steve!

Lets hope it wont be stupidly low with it fitted.


Frosty '76

The 172's looking really cool recently!


Sunday, December 17, 2006

Frosty!


Saturday, December 16, 2006

Coilovers Prepped for Winter, Ride Height Ammended, Arch liners Removed

I noticed that the threads on the front set of coilovers are rusting up due to the every wet weather, and salty roads. If left this will mean that they will seize making height adjustment impossible.

The solution?

1] Brush down the threads with a wire brush getting rid of all rust and debris.
2] Squirt WD40 on them and rub down with a cloth.
3] Apply copious amounts of Copperslip to all the thread.

This will preserve the surface. I suppose this will have to be done every now and again.


I have also noticed that since the ride height has settled the passengers side is about 10mm lower than the drivers side [front]. This meant that I had to lower the drivers side coilovers by about 10mm.

This is easier said than done as Yozzasport had locked the 2 x C Spanner bolts so that they were safe for driving. Unlocking them was a mission! I now have a huge lump in my hand where I hit it with a claw hammer! Owwww!

To unlock:-

1] Position your C-Spanner on the bottom bolt in a way that when turned you will move the bolt down ways [handle pointing to the left - clockwise].
2] Hold end of C-Spanner with hand and tap the inner part of the handle with a hammer. This should break the lock.
3] Adjust accordingly.
4] Lock the bolts by hitting the top bolt tighter [clockwise] into the bottom bolt.

I also removed the arch liners and cable tied any wiring or hosing out of the way. This will mean that there will be no catching of the tyres, and open up some additional cooling for the brakes so that fading will be less of a problem.


I have also removed the side "76" stickers as I am going off the 'stickered up' look of my track bug! The stickers I have left are = some Pistonheads decals, Elf decals, Koni decals, and some Michelin decals. In my opinion it looks alot cleaner now, although I'm sure I will have now lost 7.6 bhp by removing them!!!!!!!!!!!

Im now going to nurse the huge lump on my hand!

Thursday, December 14, 2006

Speedo Recalibrated and Dash Guide

I finally got the speedo re calibrated! I used a combination of TOMTOM and my Snooper S4 which shows the GPS speed [more accurate than anything else!].

I have also done a quick guide so anyone reading this can get rid of their unwanted display lights.


Removing/Replacing the Dash


1] Disconnect battery using a 13mm socket.
2] Pop out the silver dash strips using a flat head screw driver.
3] Pop off the top of the cowling ontop of the steering wheel column using the flat head screwdriver.

4] Using a 20 sized torx tool [male] undo all the screws holding the dash in place:-
2 x below display.
1 x to the right of the steering wheel - below the heater.
1 x to the right hand side of dash next to door.
1 x in vent to the right hand corner next to windscreen.
1 x in vent to the middle of dash next to windscreen.
1 x 1 x in vent to the left hand corner next to windscreen.
1 x to the left hand side of dash next to door.
3 x above the glove box.

5] There are now no screws holding the dash in apart from the lugs/clips. So using your flat head screwdriver praise the dash off bit by bit working around.
6] Once raised up use force by pushing the pass side dash down by the vent whilst pulling it out towards you. You will now have the dash fairly loose.
7] If you wish - you can now remove the pass airbag for weight reasons [not recommended for safety reasons].
8] The display binnacle can now be removed - pull it towards you and it will pop out.
9] Unclip the rear electrical connectors. 1 x grey, 1 x red. Remove from car.

Eliminating The Unwanted Dash Lights

1] Pull the clear front plastic cover off the binnacle/display.
2] Mark out the position of each needle as it sits on the binnacle.
3] Using 2 x small spoons slide under each needle and pop them off.
4] Turn the display around and undo and remove the small torx screws then remove the black plastic cover.
5] You can now remove the circuit board from the white plastic display mould.
6] Using some black electrical tape cover each of the display recesses in the white display mould, so that it blanks out the unwanted light emitted from the LED.
7] Follow instructions in reverse to rebuild.

This guide probably took me longer to write than actually do.

Any problems click on the contact me link --------->

Also check out the pics from my entry 2 posts down.